고정 헤더 영역
상세 컨텐츠
본문
삼성 노트북 분해 (모델명 : NT270E5U-KD1S)
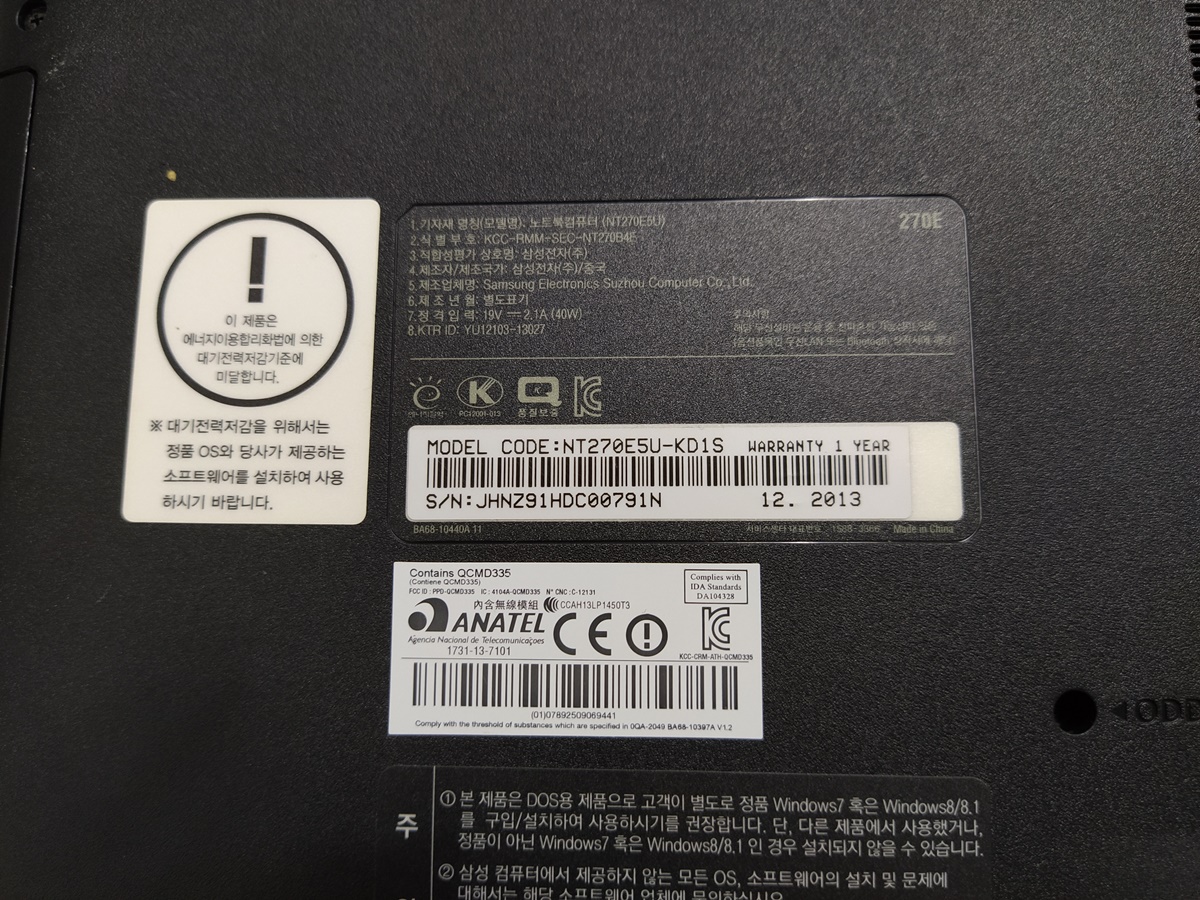
2013년으로 8년 정도의 연식의 노트북입니다. 이 노트북은 CPU가 셀로론 CPU가 장착된 노트북이라서 SSD를 업그레이드해도 속도가 만족할 정도로 나오지 않기 때문에, SSD 업그레이드를 권해드리진 않는 모델입니다. 그래도 마지막으로 SSD를 장착해서 사용하고 싶다고 하시면 교체를 해드리기는 하지만 개인적으로는 새로 구입하시는 편이 사용자에게 더 좋다고 생각합니다.
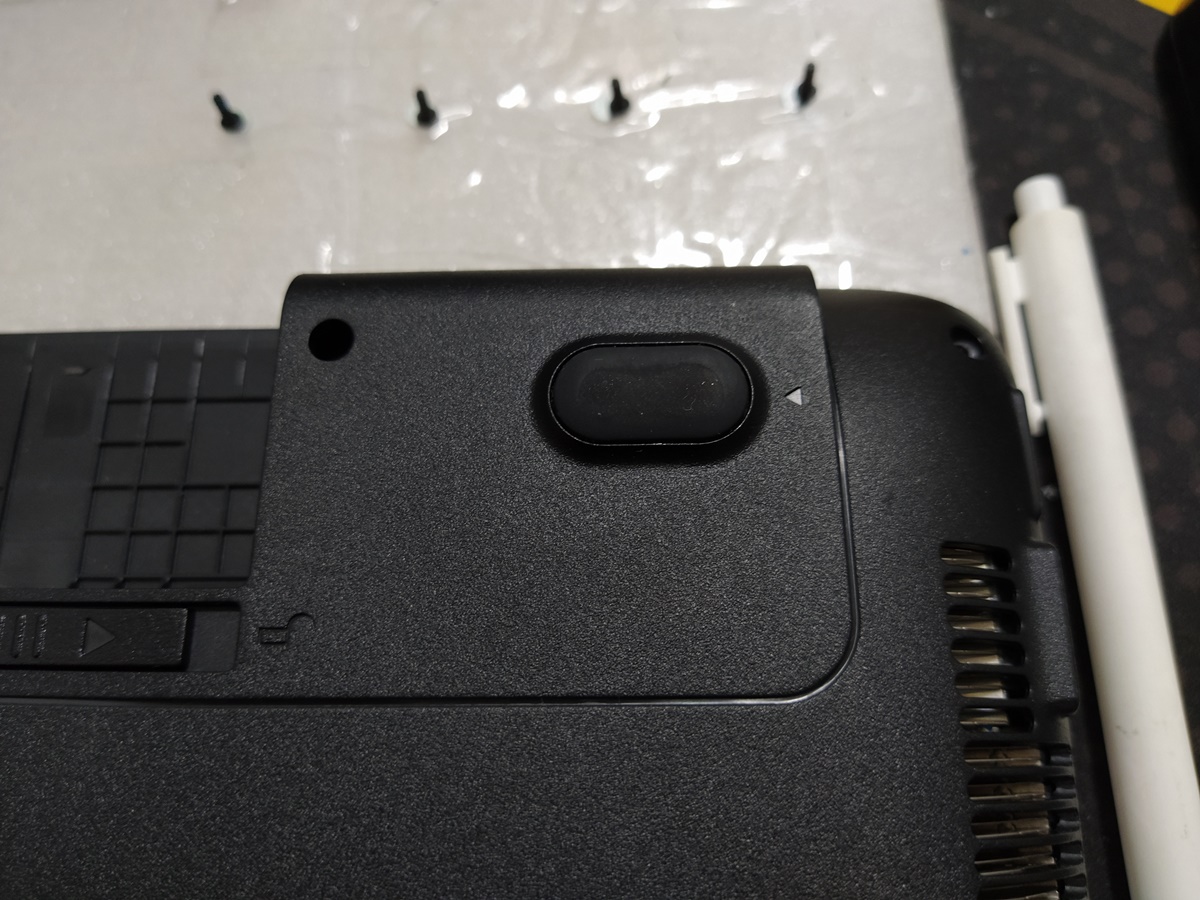
노트북의 뒷면은 아래와 같이 생겼습니다.
1. 배터리를 먼저 제거하고
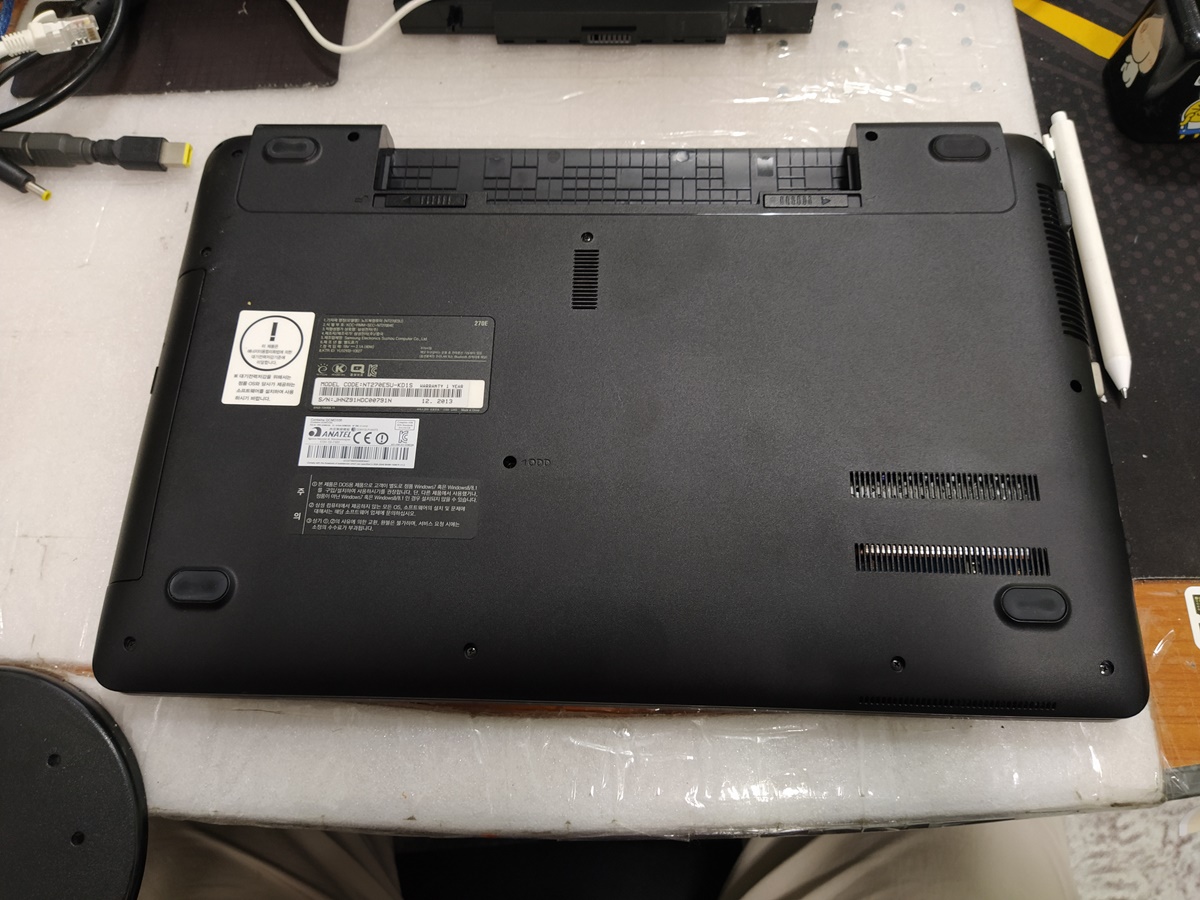
2. 뒷면에 잠긴 나사를 모두 풀었습니다.
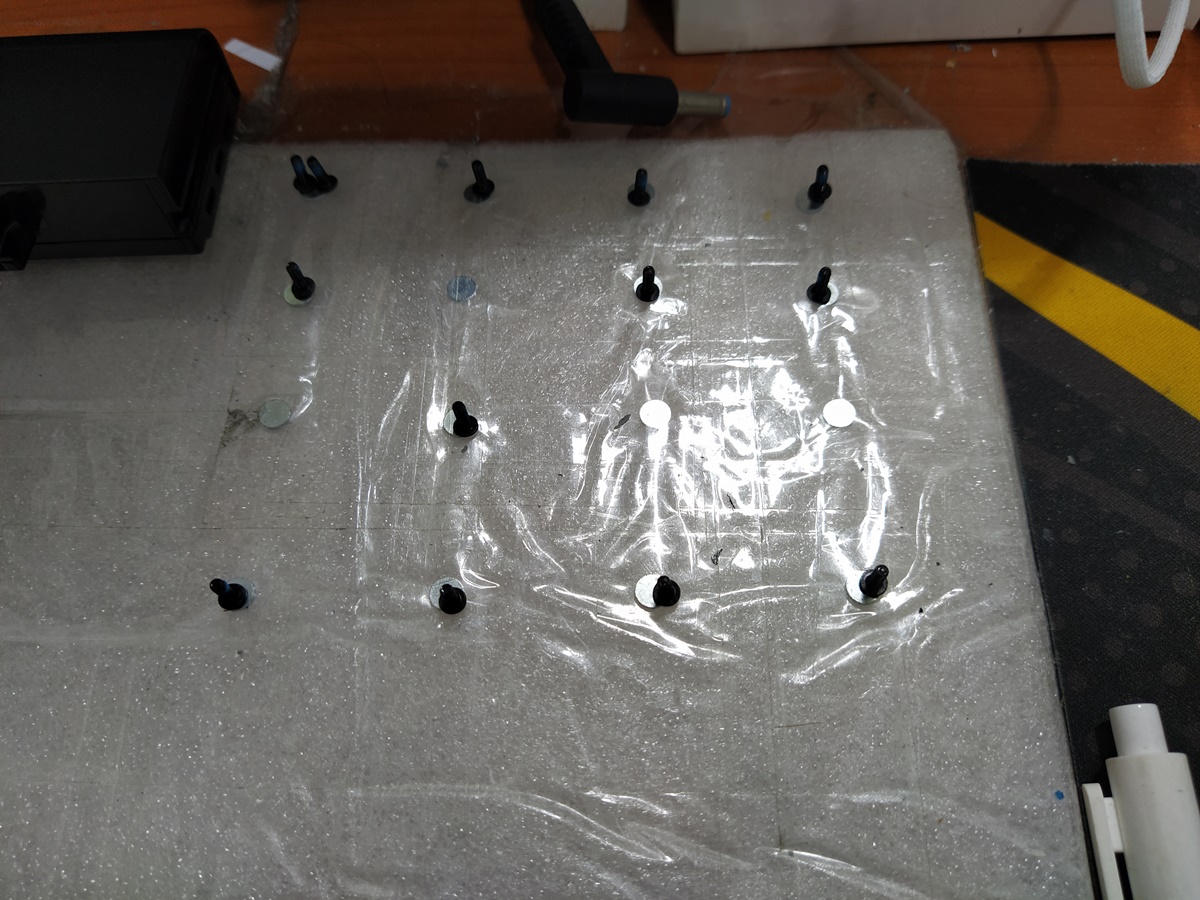
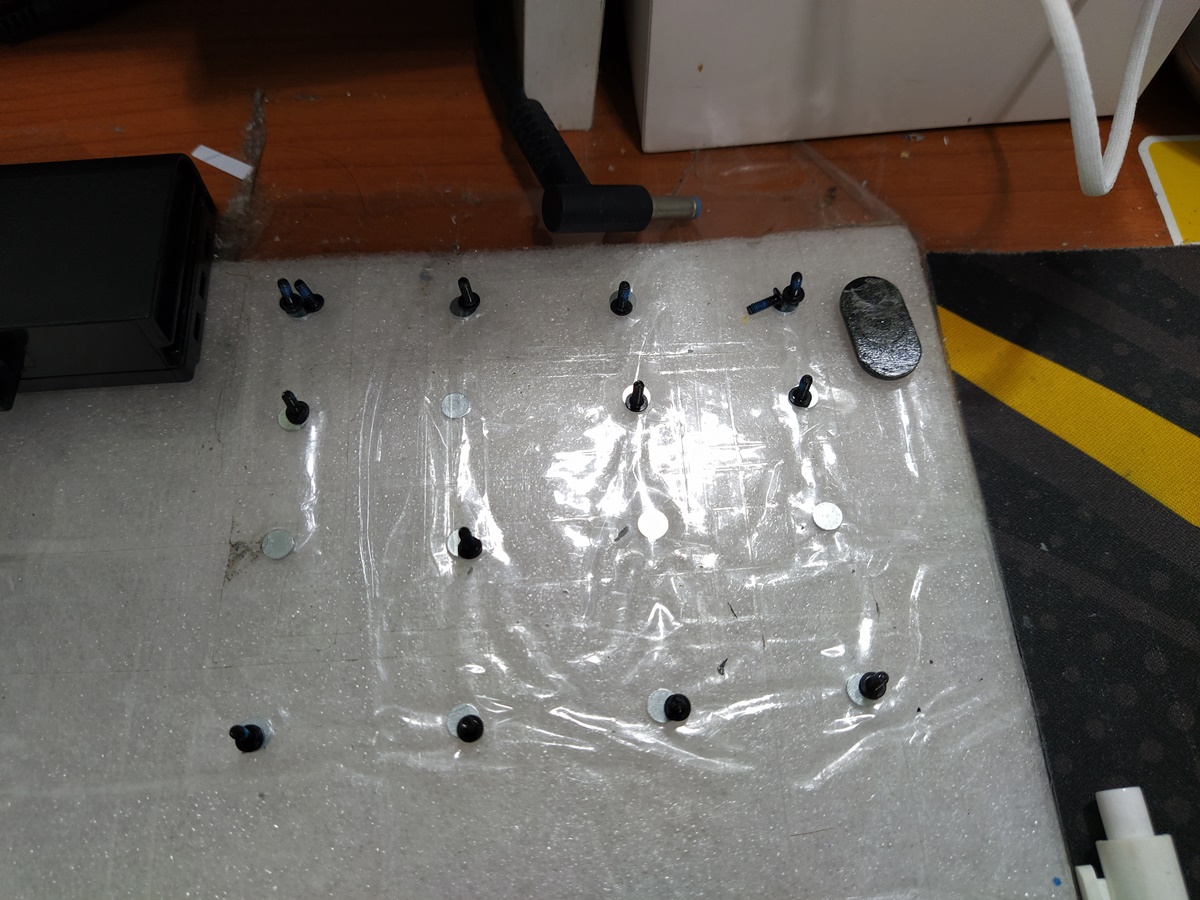
3. 나사는 한 곳에 풀었던 모양대로 잘 모아둡니다.
4. 삼성 노트북은 노트북 중에서도 분해하기가 조금은 편리합니다. 이렇게 미끄럼 방지 패드 밑에 나사가 있다고 친절하게 표기도 해놓은 경우가 많고요.
다른 노트북은 나사를 어디 숨겨놔서 찾기도 어려운 기종이 있습니다. (키보드 밑, 노트북 옆면 나사를 왜 숨겨놓는지 이해가 안 되는 제조사가 있습니다.)
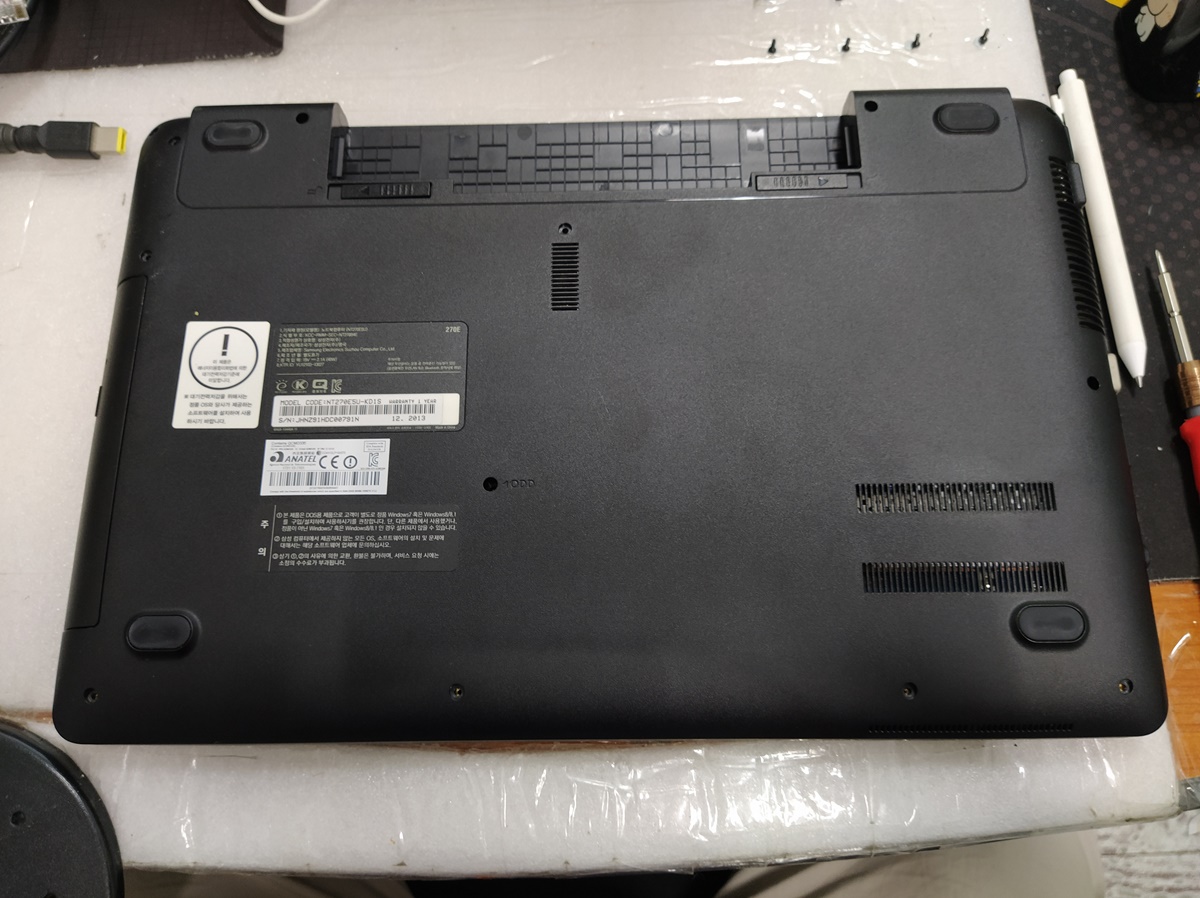
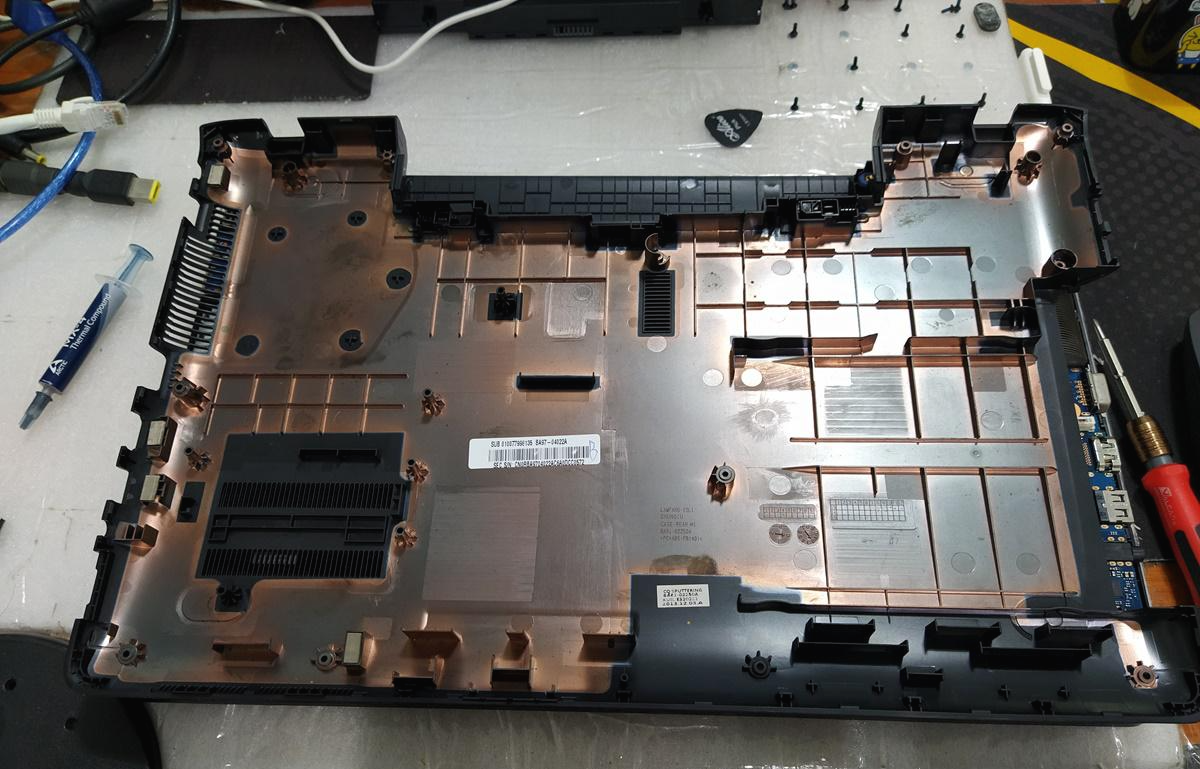
노트북의 하판을 분리시켰습니다. 하판은 플라스틱 걸쇠 타입으로 락킹 된 상태이기 때문에 락킹된 부분을 잘 확인하셔서 걸쇠의 옆 부분의 공간을 공략하면 분해하기가 좋습니다.
5. 나사는 한 곳에 노트북 모양대로 잘 모아둡니다. 삼성 노트북은 나사의 굵기가 일정한 편이기 때문에 거의 헷갈릴 일은 적습니다. 그래도 길이나 굵기가 다를 수도 있으니깐 되도록이면 자기 자리에 놔두고 재조립하는 것이 실수를 줄일 수 있는 방법입니다.
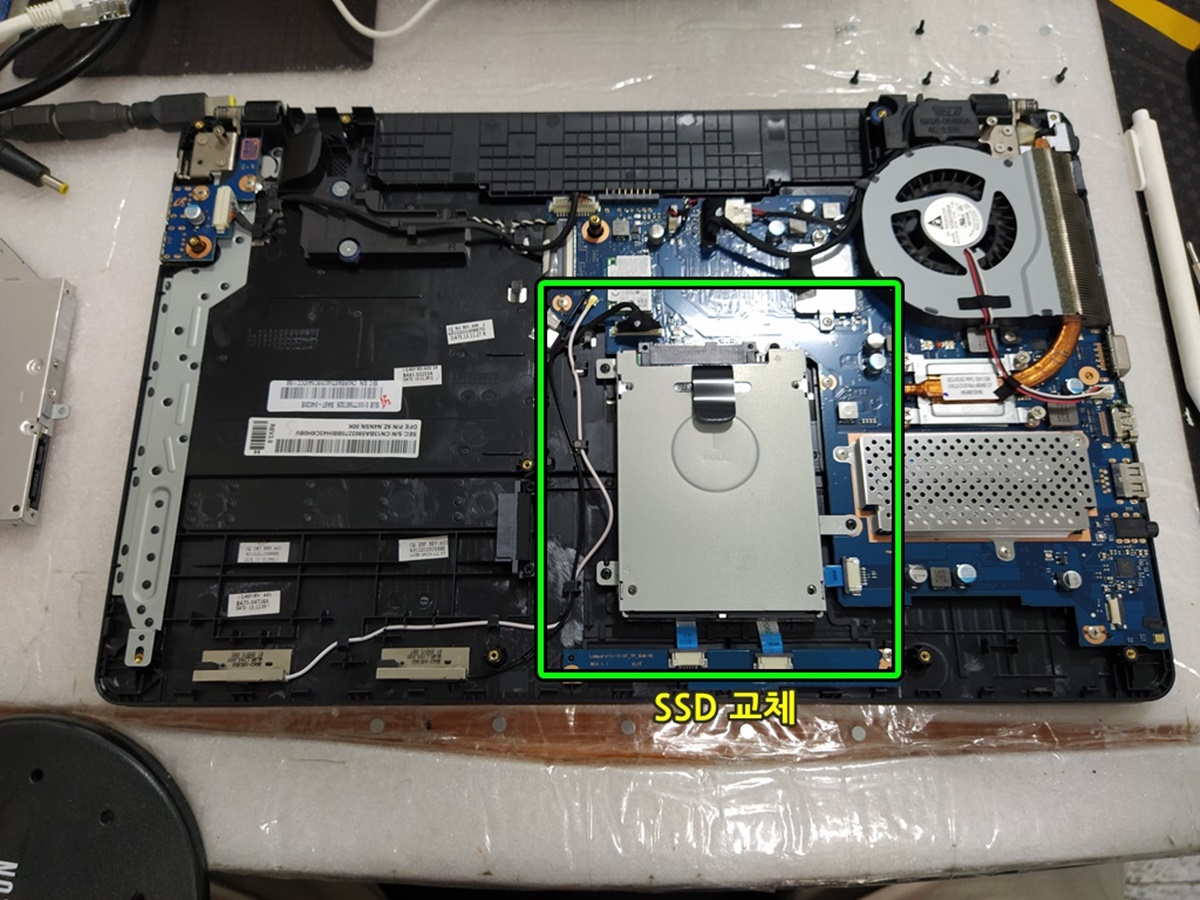
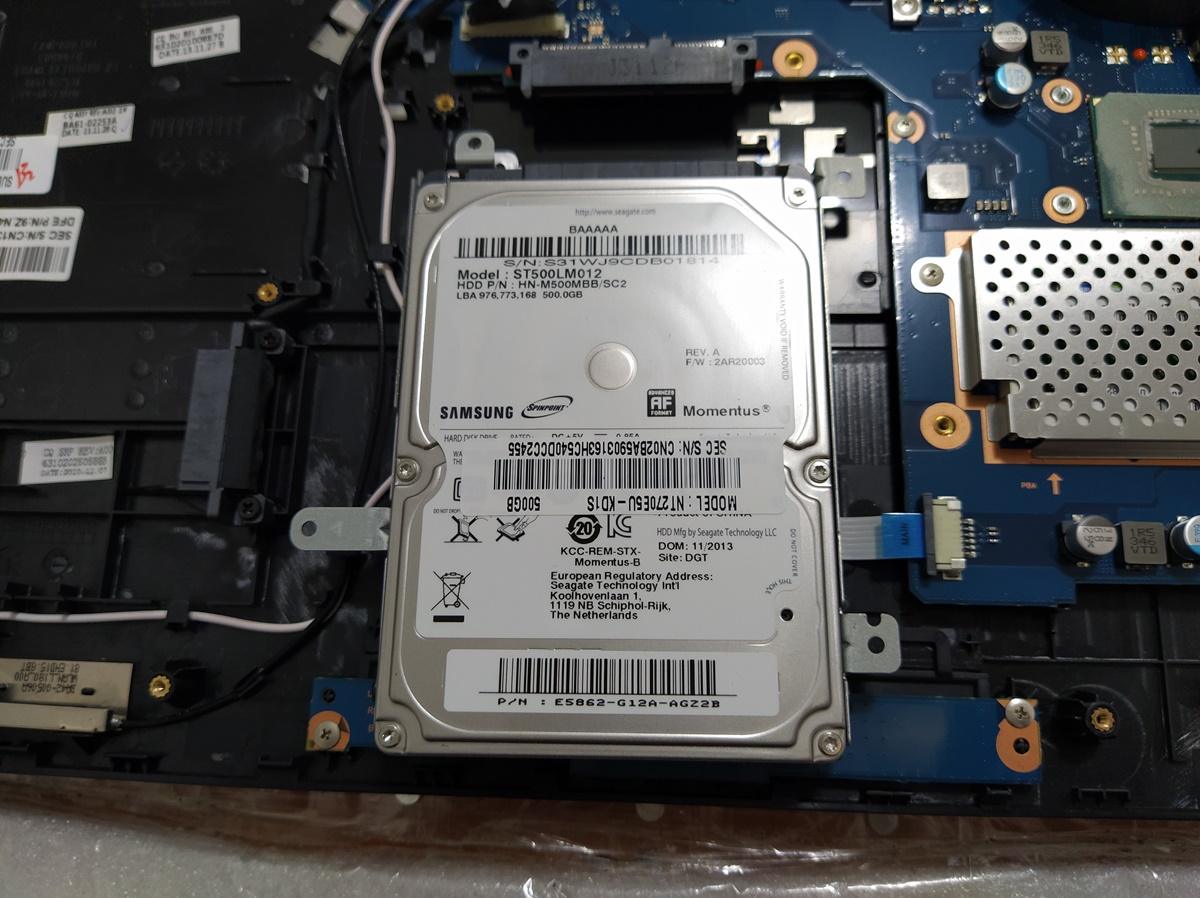
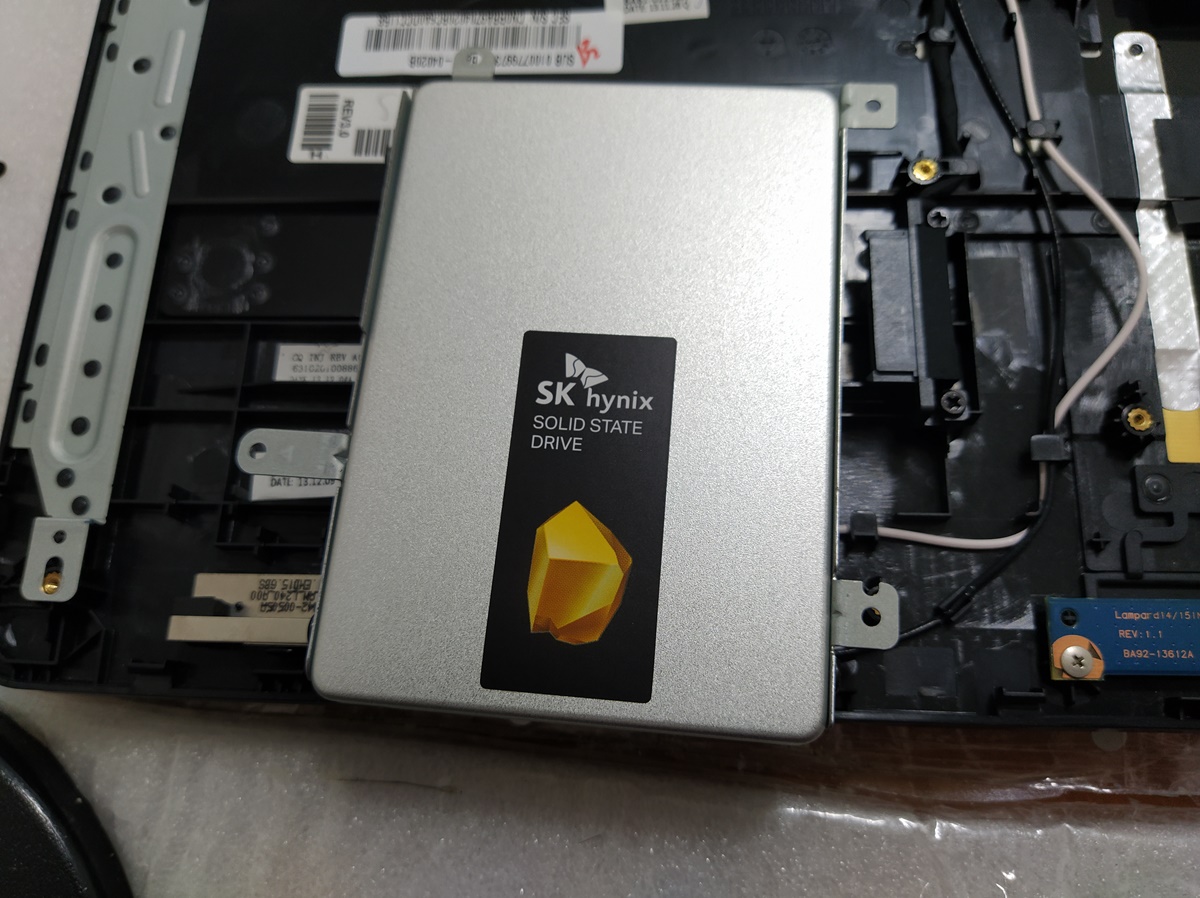
6. 기존의 HDD를 메인보드에서 제거하고 SK 하이닉스 S31 250기가 SSD로 교체 작업을 진행했습니다.
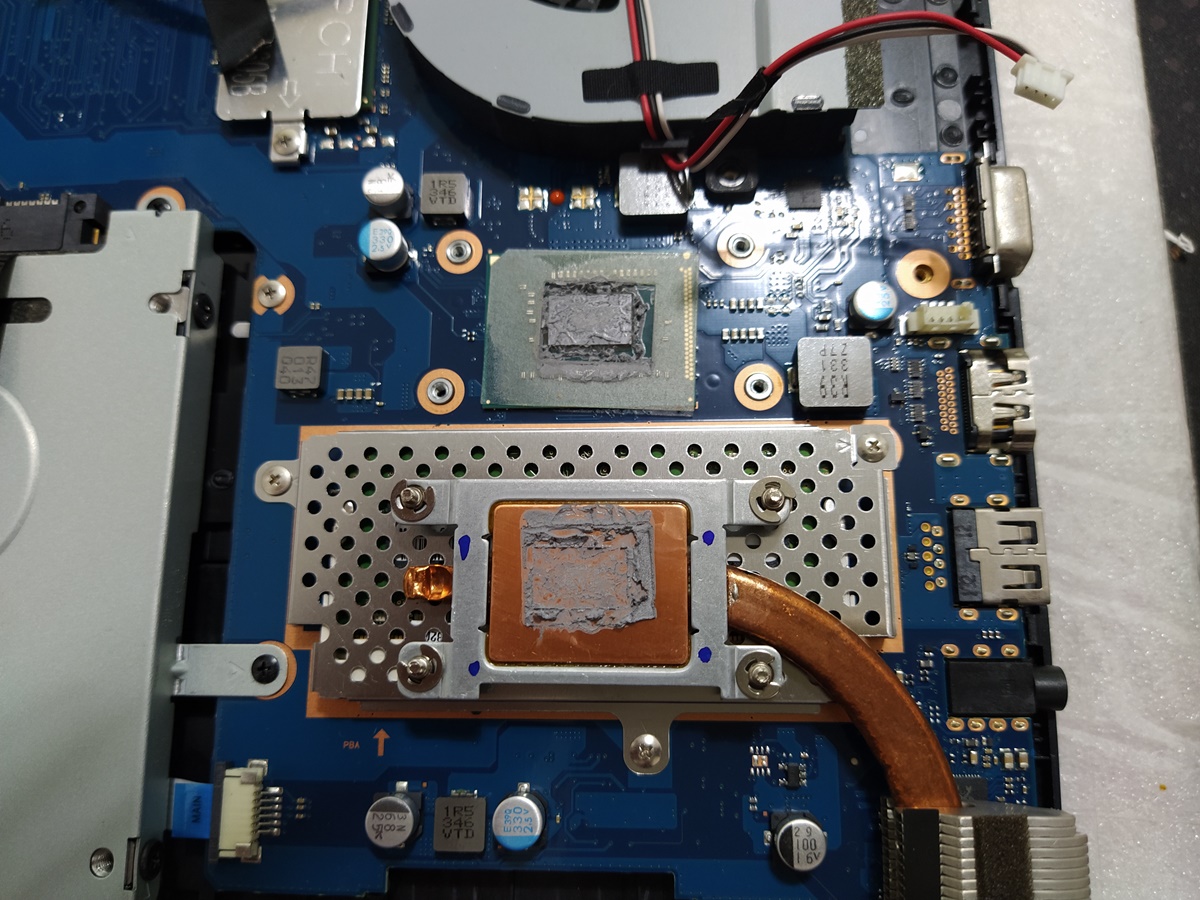
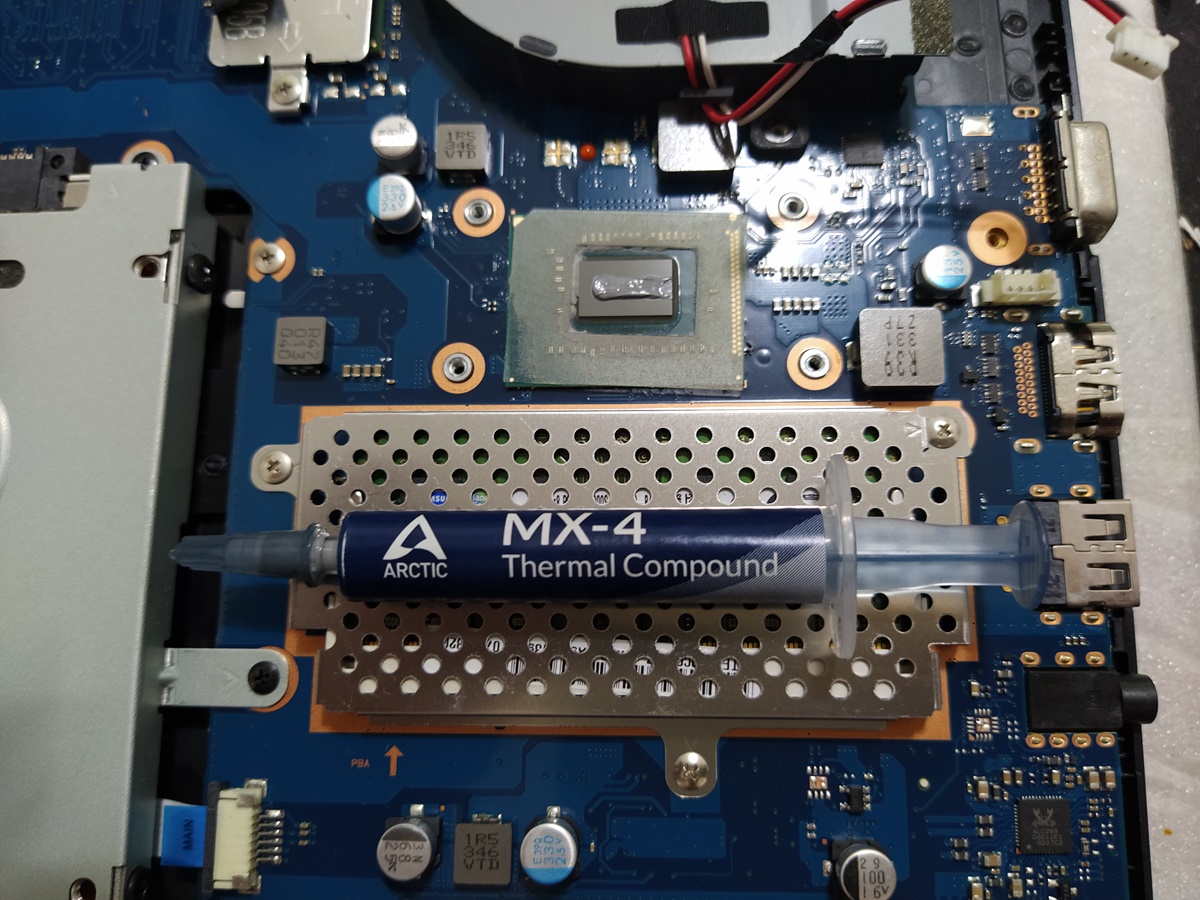
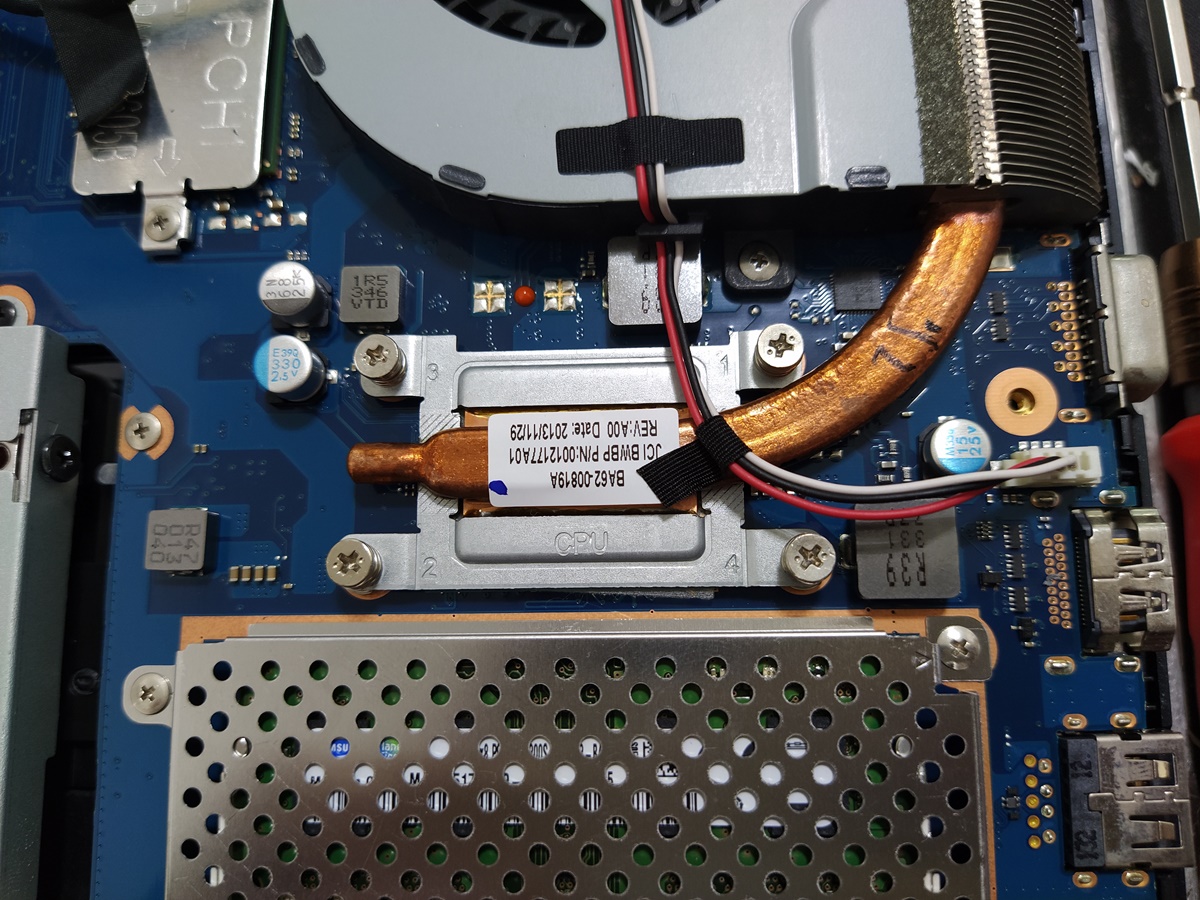
7. 노트북을 분해할 일은 그렇게 많지 않기 때문에 이렇게 분해했을 때, 서멀 컴파운드 재도포 작업도 동시에 진행하면 좋습니다. 아크텍사의 MX-4라는 서멀 컴파운드를 재도포하고 CPU 팬을 재조립했습니다.
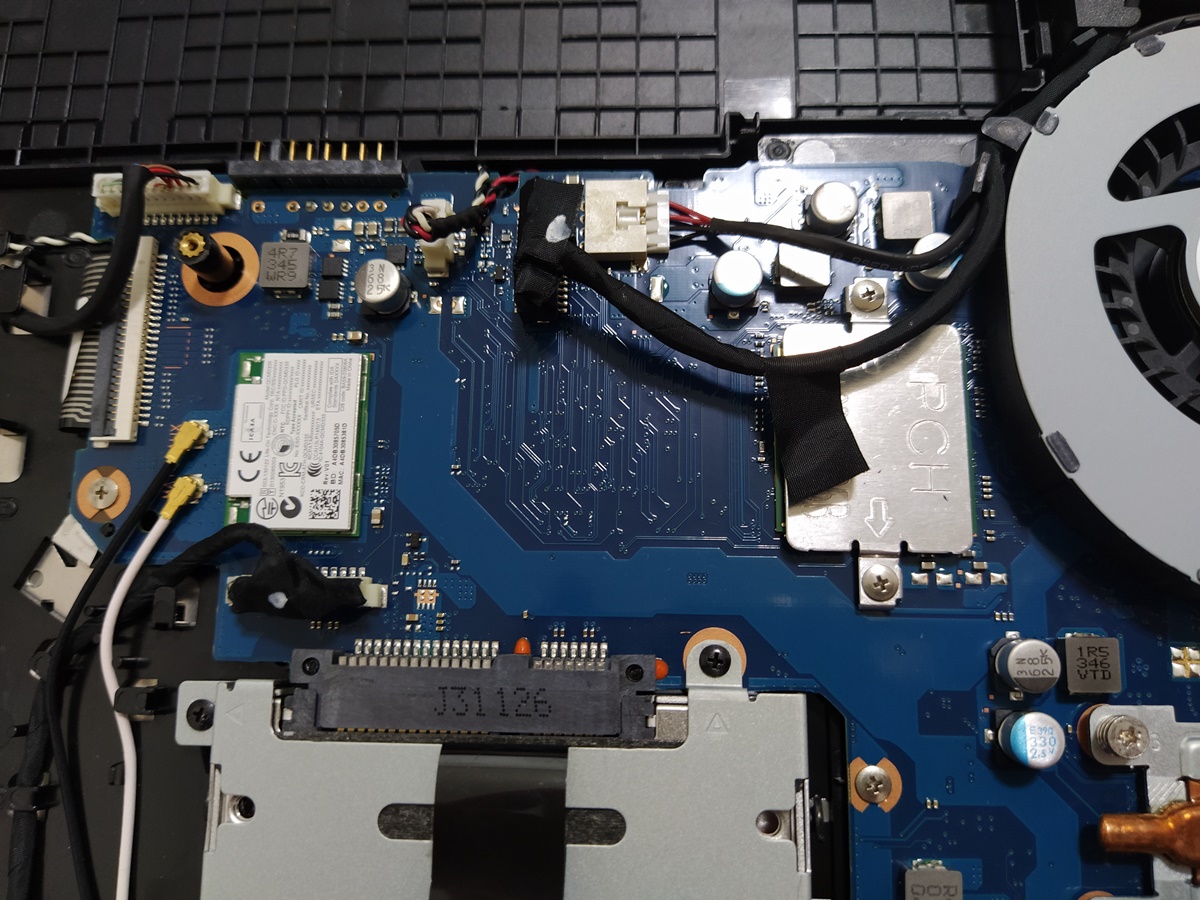
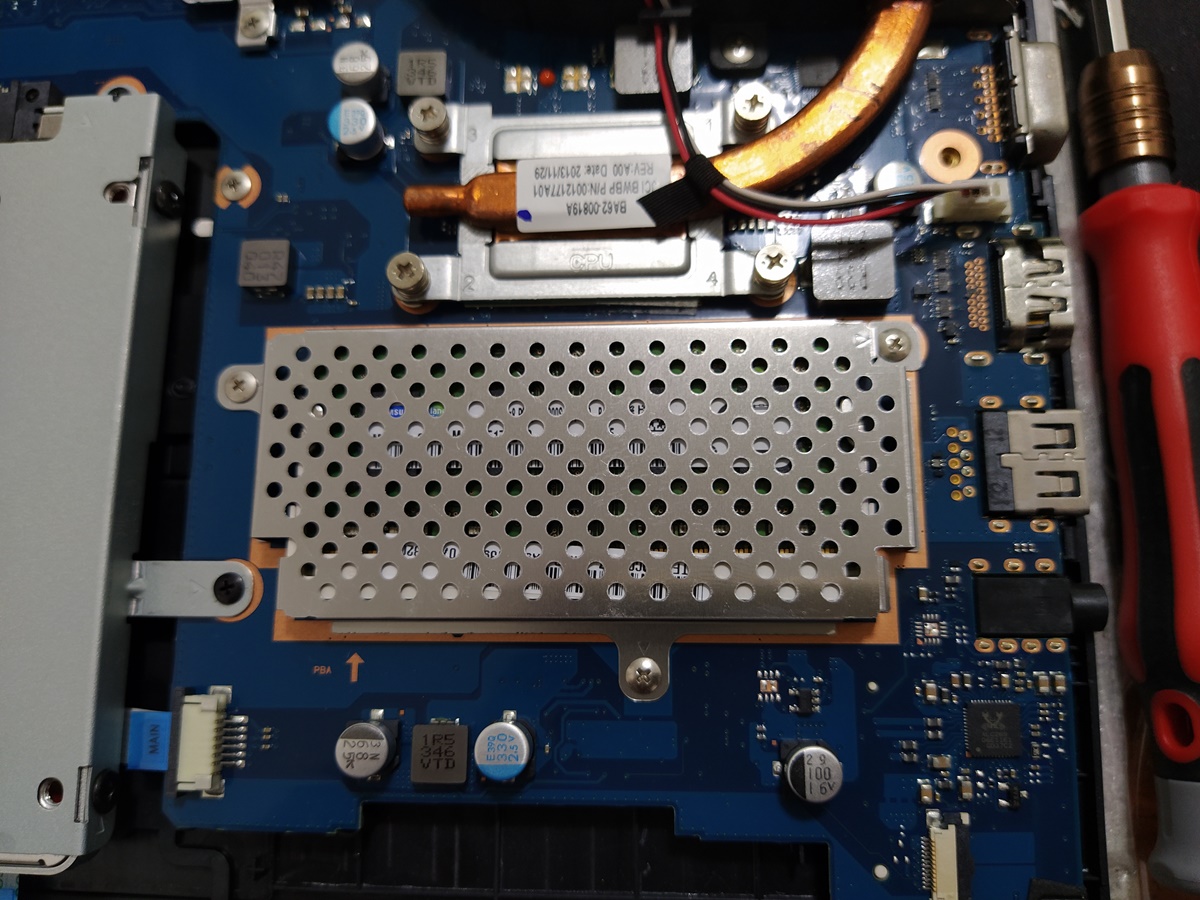
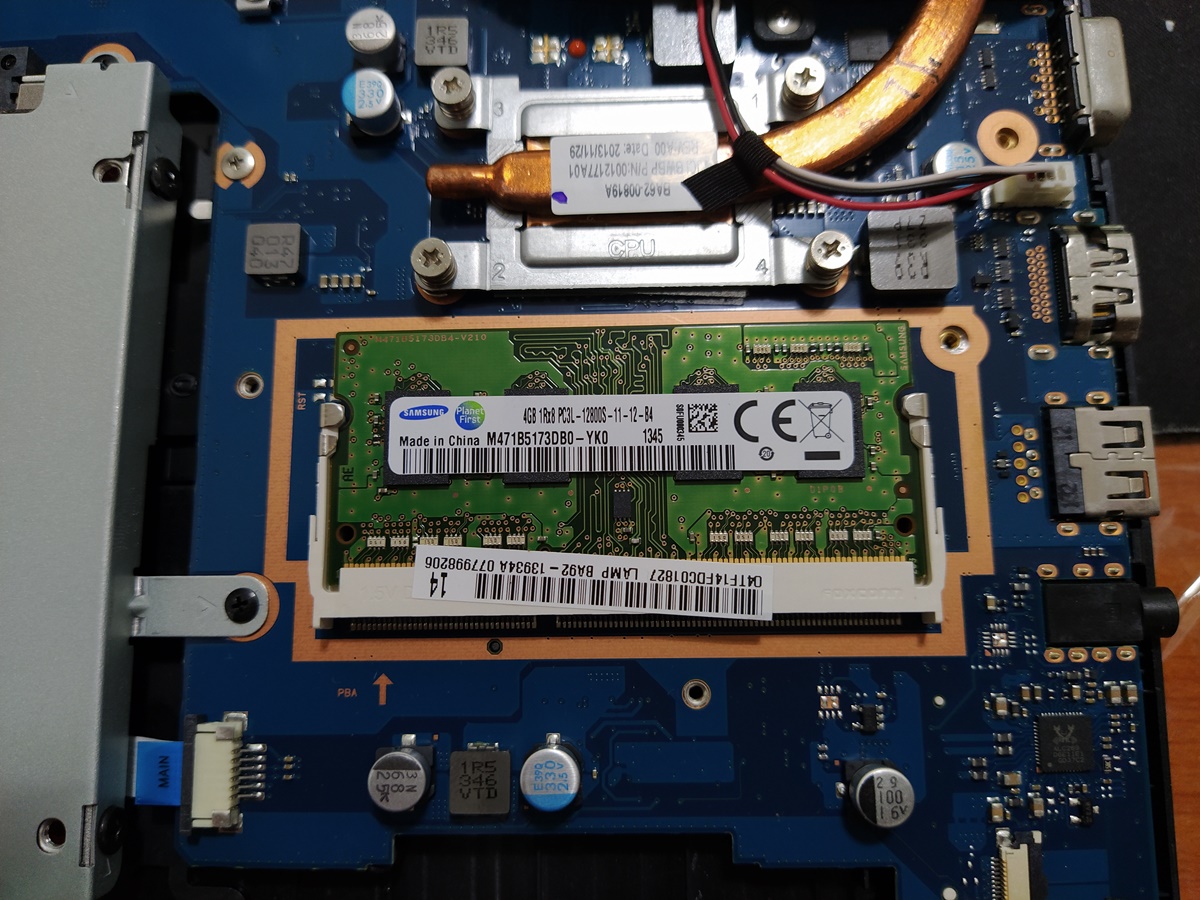
그 외 메인보드의 부속물을 사진으로 남겨뒀습니다. 무선랜카드는 메인보드에 납땜된 상태라서 교체하기가 어렵겠네요. 메모리는 철판을 덮어놔서 철판을 제거하고 교체하면 됩니다. 기존에 장착된 메모리는 삼성 4GB 1RX8 PC3L-12800S-11-12-B4 제품이 장착되어 있네요. 13년 45주 차 제품
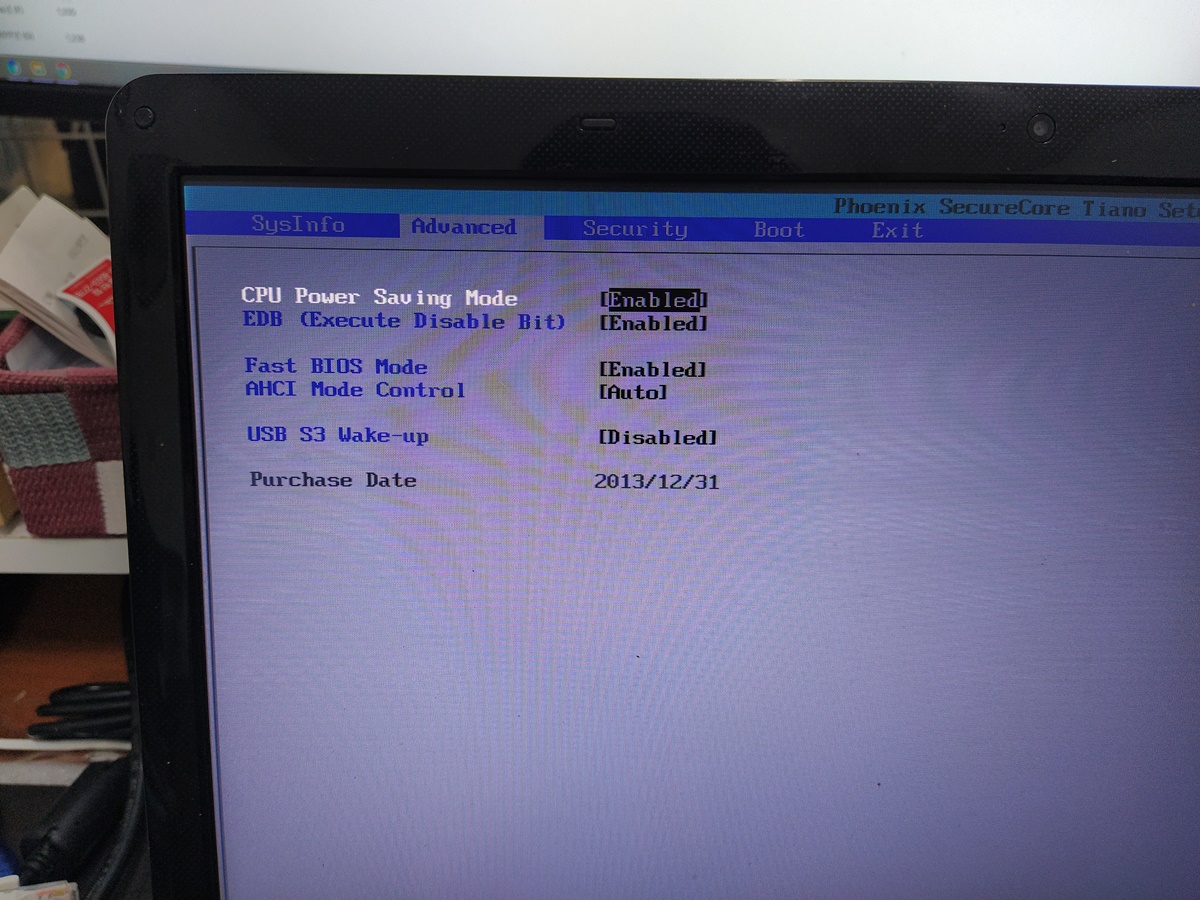
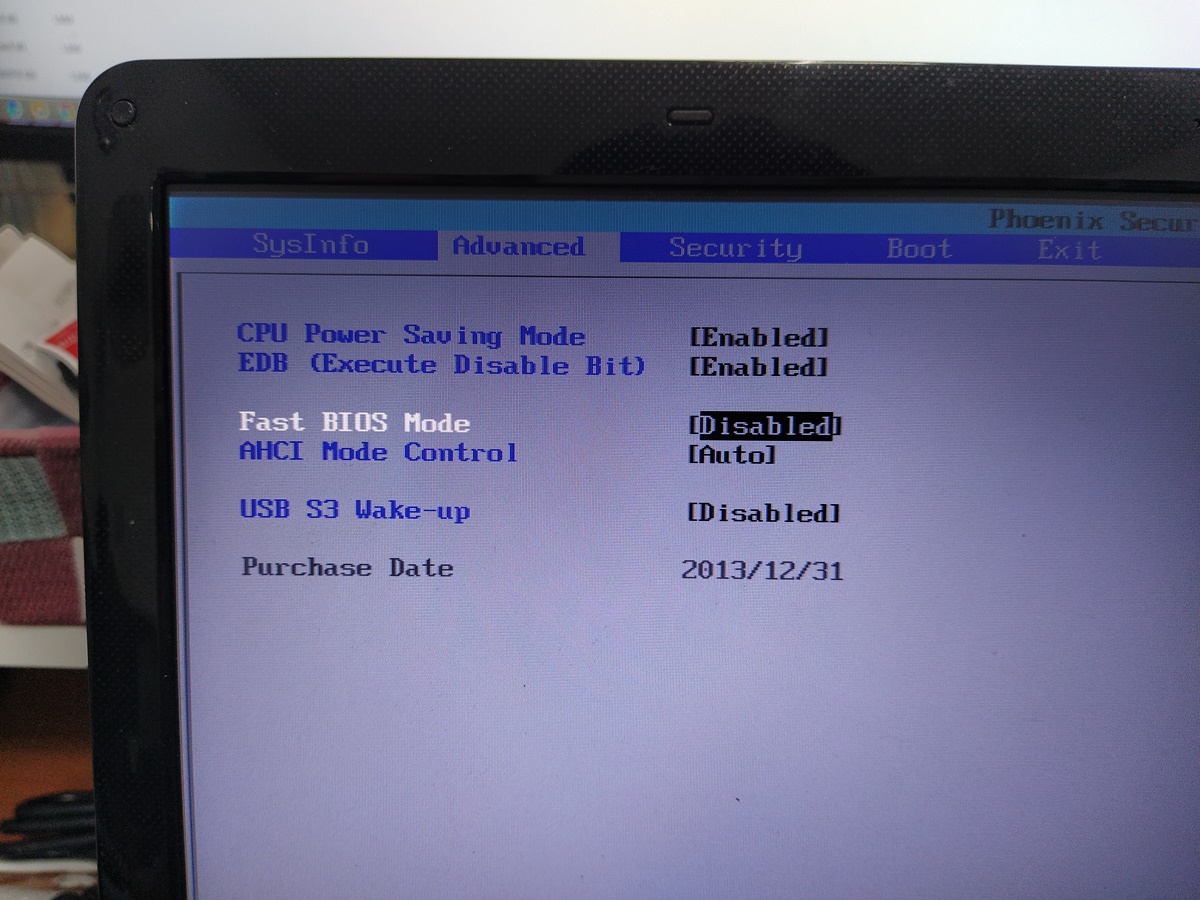
8. 노트북의 시모스 설정으로 들어가서, 새로 장착된 SSD 모델이 정상적으로 뜨는지 확인하고 있습니다.

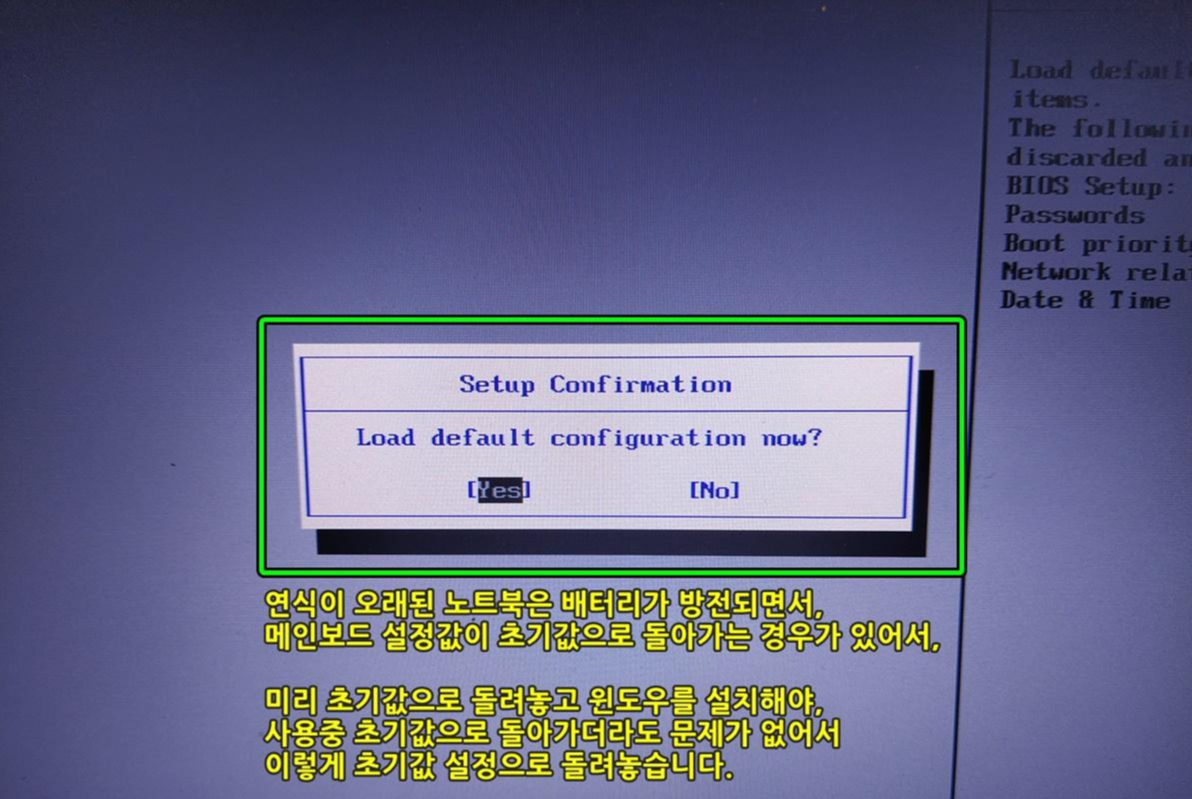
9. 오래된 노트북은 쓰다가 메인보드 설정이 초기값으로 돌아가는 경우가 있기 때문에 미리 기본 설정값으로 바꿔놓고 윈도우 설치 작업을 진행합니다.
Samsung Laptop Decomposition (Model name: NT270E5U-KD1S)
NT270E5U-KD1S
It is an eight-year-old laptop in 2013. This laptop is a laptop equipped with a Celloron CPU, so even if you upgrade the SSD, the speed is not satisfactory, so I don't recommend upgrading the SSD. Lastly, if you want to use an SSD equipped, we will replace it, but personally, I think it's better for users to buy a new one.
The back of the laptop looks like the following.
1. Remove the battery first.
The back of NT270E5U-KD1S.
2. Unscrew all the screws on the back.
NT270E5U-KD1S Screw Location
3. Keep screws in one place in the same shape as they were loosened.
Put the screws tightened in the Samsung laptop in one place.
4. Samsung laptops are a little convenient to break down among laptops. There are many cases where screws are kindly marked under the anti-slip pad.
Other laptops have hidden screws somewhere, making it difficult to find. (There is a manufacturer who doesn't understand why the screws under the keyboard and on the side of the laptop are hidden.)
There is also a hidden screw under the anti-slip pad.
I separated the lower plate of the laptop. Since the lower plate is locked in a plastic latch type, it is good to decompose if you check the locked part carefully and target the space next to the latch.
Samsung laptop bottom plate.
5. Keep screws in one place in the shape of a laptop. Samsung laptops are rarely confused because the thickness of screws is constant. Still, the length or thickness may be different, so if possible, leaving it in your place and reassembling it is a way to reduce mistakes.
Screws are well collected in one place.
6. Existing HDD was removed from the main board and SK Hynix S31250 was replaced with SSD.
We replaced the existing hard disk with an SSD.
7. Since there are not so many cases to disassemble the laptop, it is good to re-apply the thermal compound at the same time when disassemble it. We re-applied the thermal compound called MX-4 from Arctech and re-assembled the CPU fan.
We also re-applied the thermal compound.
Other accessories of the main board are left as photos. Wireless LAN cards are soldered on the main board, so it will be difficult to replace them. The memory can be replaced by removing the iron plate by covering the iron plate. The existing memory is equipped with Samsung 4GB 1RX8 PC3L-12800S-11-12-B4 products. 13 years and 45 weeks.
The memory contains 4 gigabytes of Samsung Memory.
8. Enter the CMOS settings on the laptop and check if the newly installed SSD model appears normally.
We are checking whether the newly installed SSD model name appears normally on the CMOS screen.
9. Sometimes the mainboard setting returns to the initial value while using an old laptop, so we change it to the default setting in advance and install the window.
Check the CMOS settings before resetting the main board and installing Windows 10.
사업자 정보 표시
컴퓨터수리 | 김종복 | 경기도 화성시 동탄반송길 13 도로변 1층 상가 | 사업자 등록번호 : 135-26-61400 | TEL : 031-8015-2456 | Mail : dongtancom@naver.com | 통신판매신고번호 : 호 | 사이버몰의 이용약관 바로가기
'동탄노트북수리' 카테고리의 다른 글
| 컴퓨터 본체에 하드디스크 5개 장착 (5 hard disks on the computer.) (0) | 2021.12.07 |
|---|---|
| 15Z980 메모리 업그레이드 (내부 메인보드 기판 모습) (0) | 2021.11.16 |
| 냉동실에 있던 음식물이 녹았어요. (LG냉장고 고장 AS) (0) | 2021.10.30 |
| SK매직 - CPA-C307W - 3열 선풍기 청소하는 방법 (0) | 2021.10.29 |
| N156BGE-L11 Rev. C2 CHIMEI INNOLUX (0) | 2021.10.25 |


댓글 영역